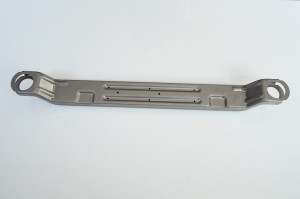
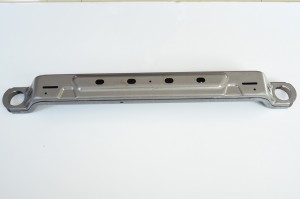
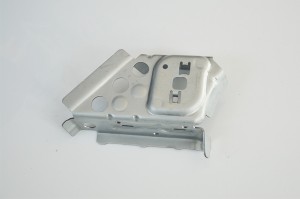
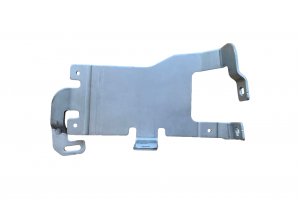
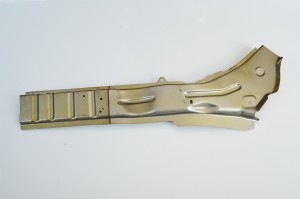
Front Cross Member, Upper Bracket
Part Name: Front Cross Member, Upper Bracket
Material Grade: SAPH400
Material Size: 2.00mm x 1170mm x 200mm
Process: x5 Stage TDM800T
Cavity: one part out
Technical Challenge: Countermeasure to twist and weld matching gap issues
◆Application: The part applicated to automotive cross member bracket part
◆Complexity: High
Press Machine: 2000T hydraulic press, 1200T Mechanical
Inspection Tool: Checking fixture, CMM, Blue scanner
Lead Time: 4 months
◆Part Quality Concern: Concern over part quality issue with twist, gap tolerance due to long part, which will cause poor accuracy of matching surface areas allowed to weld.
Background:
Because this part is quite long, which easily caused in twist issue during forming stage. Both ends of the part shows twist condition, as well as the side clearance is more difficult to reach the tolerance range of customer’s requirement tolerance range. Due to these reasons, after bending part, we designed cam strike process to improve surface accuracy (gap/flatness). Since the part are fitted together by two parts, the gap difference between the two parts needs to be controlled within the tolerance range to ensure that the later welding will not be affected. Therefore, also cam strike process can ensure the flatness of the side wall and the gap difference between the parts. Part shape segment difference is relatively large, the corresponding hole position is all in the shape to meet the requirements, and then pierced, some holes and stamping direction angle also used the cam to punch, in order to ensure that the hole position and hole size tolerance are within the tolerance range allowed by the customer.
Conclusion:
For this complex part, and the clearance and flatness requirements are extremely high, also easily cause in twist issue, we have accumulated a lot of experience, and have a reference for the future parts.
If you have any questions about high tensile part or spring back concern, please don’t hesitate to contact us, we will be pleased to reply and discuss with you.


